
Five Common Mistakes When Shooting Handheld at Night
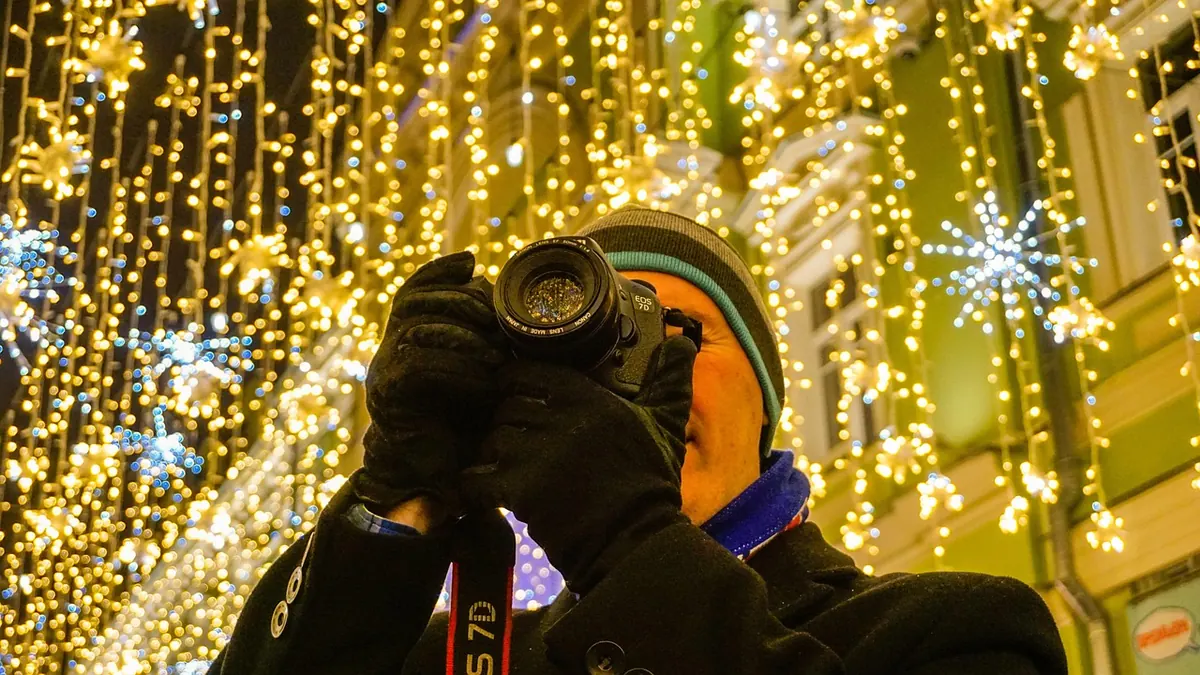
Night is when a city gets interesting: wet pavements holding colour, headlights smearing along a high street, the last few people on a platform under strip lighting. It is also when the camera starts arguing with you. Without a tripod, every decision pulls against another — light against noise, sharpness against depth of field — and the mistakes tend to be the same ones, made in the same order, by people who know better. Here are the five that ruin the most frames, and what to do instead.
Mistake One: Protecting the Sensor Instead of the Shutter Speed
Plenty of photographers arrive at night with a mild fear of high ISO, so they keep the setting low and let the shutter speed slide. That is backwards. Noise is a texture problem. Motion blur is a destroyed photograph, and no amount of editing brings back an eye, a face or a shop sign that has smeared across thirty pixels.
Modern sensors cope with far more than their reputation suggests, and a slightly grainy frame at ISO 3200 that is sharp will beat a smooth frame at ISO 800 that is not. What you want to avoid is the worst of both worlds: underexposing at a low ISO and then lifting the shadows in editing. That produces blotchy colour noise and muddy shadows that look far worse than simply setting a higher ISO in the first place.
Expose as brightly as the scene allows without clipping the light sources. Check the histogram after a test frame — the highlights from street lamps and windows should sit close to the right-hand edge without piling up against it. If you shoot raw, you have more room to correct white balance and recover highlights later, which matters more at night than at any other time.
Mistake Two: Trusting the Camera's Idea of a Safe Shutter Speed
In aperture priority, most cameras will happily drop to 1/15 or slower before they raise the ISO, because the metering has no idea your hands are involved. Fix this deliberately. Set a minimum shutter speed in the Auto ISO menu, or shoot in manual with Auto ISO and choose the shutter speed yourself.
A useful floor is one over the focal length: 1/60 for a 50mm lens, 1/125 for an 85mm, 1/250 if you are at the long end of a zoom. In-body or lens stabilisation buys you a few stops of leeway, but it only steadies the camera — it does nothing about people walking, traffic moving or leaves shifting in the wind. If anything in the frame is alive, treat 1/125 as the practical minimum and go faster for anyone mid-stride.
Mistake Three: Standing Like a Statue
Holding a camera still is a physical skill, and most people hold it as though it were a phone. Arms out, screen tilted, weight on the heels — that is a wobble waiting to happen. Bring the camera to your face and use the viewfinder, which puts a third point of contact against your brow and turns your body into a brace.
Beyond that, a few habits are worth building:
- Tuck your elbows in against your ribs rather than letting them float.
- Stand with one foot slightly forward and your weight even, not leaning back.
- Lean on something. A wall, a railing, a bollard, the edge of a bin. Press the camera against the surface if the angle allows.
- Pull the strap taut and push the camera gently away from you; the tension steadies the whole rig.
- Breathe out slowly and roll onto the shutter rather than stabbing at it. The jab, not the exposure, is usually what blurs the first frame.
- Kneel or sit for anything slower than 1/30. A low viewpoint also happens to suit night streets.
If the shutter speed has to go very low, take three frames in quick succession and keep the middle one; the first is often compromised by the act of pressing the button. For anything below about 1/15, a two-second self-timer is more reliable than willpower.
Mistake Four: Fighting the Available Light Instead of Using It
Night photography is not about conquering darkness. It is about finding the small pools of light that already exist and putting your subject in them. Shop windows, bus shelters, phone screens, headlights, the spill from a doorway — these are your softboxes. Position a person so that a lit window falls across their face rather than behind them, and the frame needs far less from your settings.
Look for reflective surfaces too: wet tarmac, glass, polished stone. They bounce light back into the shadows and add colour for free. Where mixed lighting is unavoidable — sodium orange next to cold LED — shoot raw and correct afterwards, or consider converting to black and white, where conflicting colour casts simply stop mattering.
Mistake Five: Fixing Blur and Noise in the Wrong Order
The editing mistakes start with culling at 100 per cent. Judge composition at fit-to-screen size first, then zoom in on the keepers. A frame that looks good small will usually still look good with a little noise.
An order of work that avoids making things worse
- Correct exposure and white balance, gently.
- Apply noise reduction before sharpening, never after, or you will amplify exactly the grain you are trying to suppress.
- Sharpen selectively — edges and detail — rather than globally, which turns flat night skies into a speckled mess.
- Resist hauling deep shadows up by two stops. Let some areas stay dark; night is allowed to look like night.
If noise reduction starts smoothing skin and foliage into plastic, back it off and accept the grain. In black and white, grain reads as texture rather than a defect, which is one reason so much good night work ends up monochrome.
The Walk-Home Checklist
Before you set off next time, run through the basics: shutter speed chosen by you, not the camera; the fastest aperture you are willing to accept; ISO set high enough to make that work; viewfinder to your eye and elbows in; and a subject standing somewhere the light is already doing something interesting.
- Check the histogram on the first frame, not the tenth.
- Know your minimum shutter speed before you raise the camera.
- Use the light that exists rather than the light you wish existed.
- Keep the sharp frame with grain and bin the smooth one with blur.
Do those four things and the hit rate climbs quickly. Night shooting handheld is not a compromise — it is a different discipline, and a forgiving one once you stop asking the camera to solve problems you can solve yourself.
Photo: Greenstock / Pixabay